1.972.840.0208Discuss with Our Engineers
How To Make Metal Grinding Easy Safe More Productive

How To Make Metal Grinding Easy, Safe, And More Productive

Metal grinding is messy, inconsistent, and exhausting. Heat builds, discs clog, and what starts as a clean surface can end up uneven or burned before you know it. 

Besides the challenge of finding skilled labor, the real issue is a process that’s hard to control and even harder to repeat. No matter the setting, whether a small shop or a busy plant, the goal is to make grinding easier, safer, and more consistent. 

This guide explains how to make grinding more consistent and efficient. You will learn how to control variation, adjust your technique for different metals, choose the right tools, and use automation to take those improvements even further.
How To Grind Different Metals

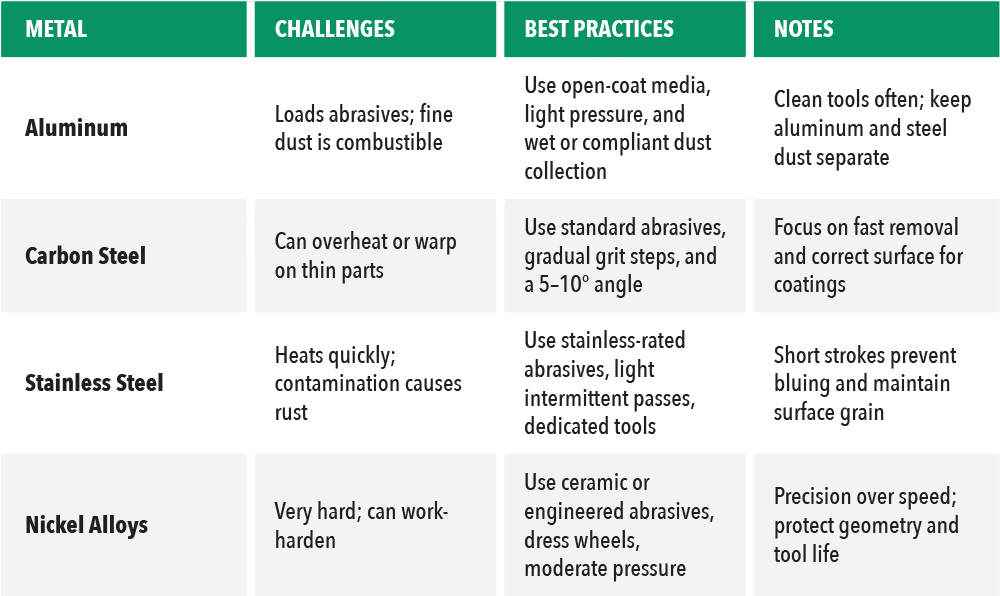
Treating all metals the same wastes abrasives and produces poor results. Each metal reacts differently to heat, pressure, and abrasive type. A setup that works well on one material can fail on another. Understanding how each metal behaves allows you to adjust force, technique, and dust management for safer, faster, and more consistent results.

Aluminum

Aluminum Grinding
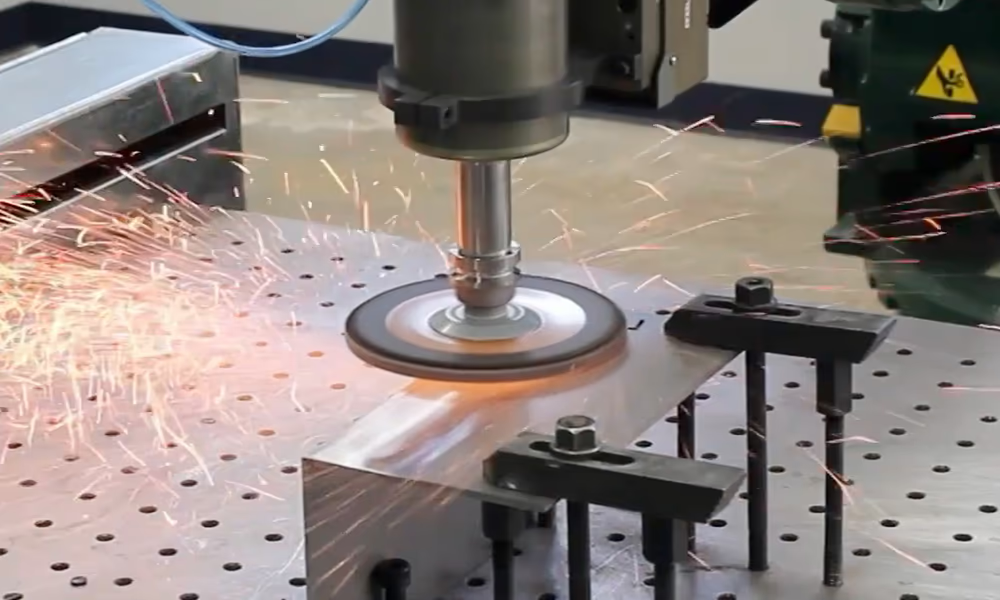
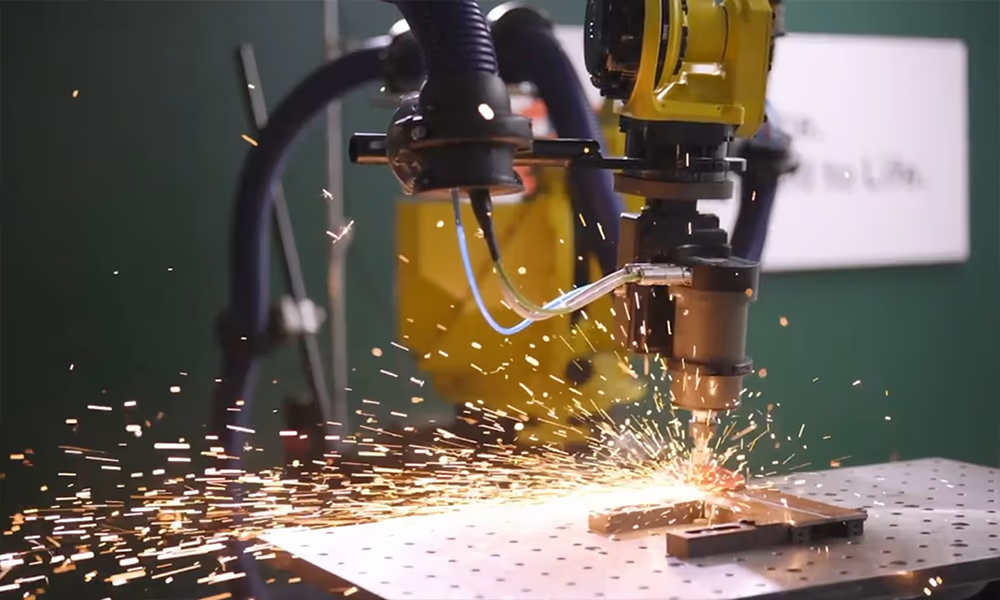
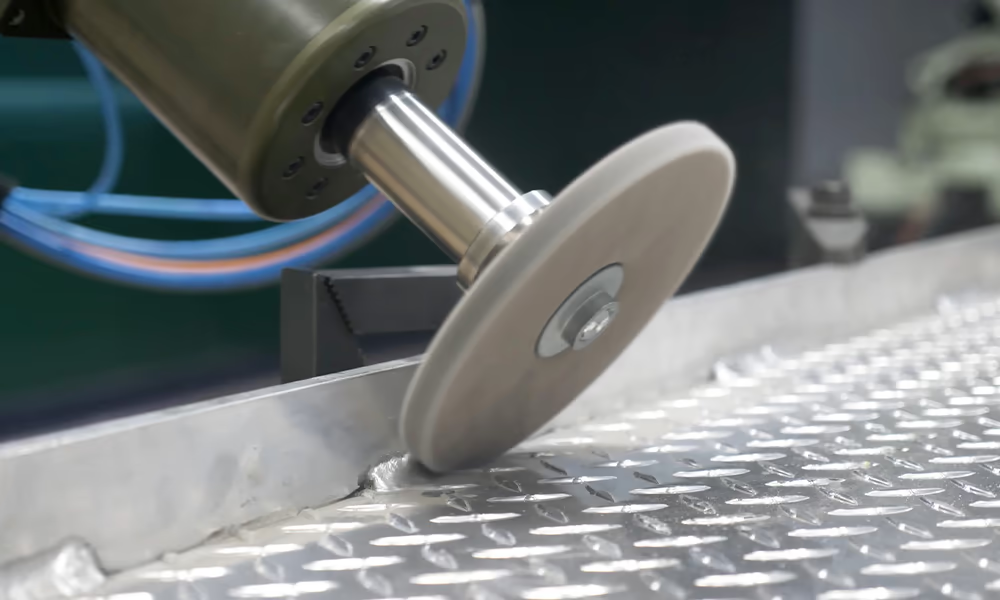
Grinding aluminum welds with a robotic grinding process

Soft and lightweight, aluminum loads abrasives quickly and holds heat. The resulting fine dust is combustible, so dust capture and cleanup are critical.

  • Best practices: Use open-coat or anti-loading abrasives made for nonferrous metals. Apply light, steady pressure and keep tools clean to maintain a free-cutting surface. Wet grinding or compliant dust collection helps control heat and reduce fire risk. Avoid mixing aluminum and steel dust in the same collection system.
  • Key notes: Consistent cleaning and a lighter touch prevent smears and galling. Proper dust handling protects workers and equipment.

“I’ve seen cases where people ground steel and aluminum in the same cell and impregnated steel into the aluminum. I’ve heard stories of those parts going out and then the aluminum rusting—and it’s not the aluminum rusting, it’s the steel that got into it.” – Maximiliano Falcone, Pushcorp

Carbon Steel

Carbon Steel Grinding
Edge preparation of a thick carbon steel plate with an automated grinding process

Carbon steel is one of the most forgiving materials to grind, but it still requires control. Thin sections can overheat, and over-grinding increases both cycle time and consumable use.

  • Best practices: Use standard bonded or coated abrasives, moving through grits gradually. Maintain a working angle of 5 to 10 degrees for balanced removal. Replace worn media before it glazes to keep cutting speed high.
  • Key notes: Focus on efficient material removal and achieving a consistent surface profile for paint or powder coating adhesion.

Stainless Steel

Stainless Steel Grinding
Robotic grinding of stainless steel surface with a compliance device allowing a precise, uniform finish

Austenitic stainless steel is ductile because of its nickel content, which causes higher abrasive loading.  It’s also prone to heat tinting or bluing because it’s alloyed with chromium. And its surface can corrode if contaminated with particles from other metals.

  • Best practices: Use stainless-rated, iron-free abrasives. Apply light, steady pressure and grind intermittently to allow the surface to cool. Use directional or pull strokes when the finish must be cosmetic, and keep dedicated tools for stainless work only.
  • Key notes: Controlled pressure and short passes prevent discoloration, while maintaining stroke direction ensures uniform surface grain.

Nickel-Based Alloys (Inconel, Hastelloy, etc.)

Nickel Based Alloys
These alloys are strong and heat-resistant, making them challenging to grind. They can work-harden if too much pressure is applied
  • Best practices: Use ceramic or engineered-grain abrasives designed for superalloys. Dress wheels often and apply moderate, steady pressure. Allow cooling between passes and consider coolant use on thick or high-value parts.
  • Key notes: Slower removal is expected. Prioritize precision and wheel condition to protect part geometry and abrasive life.

Comparison Table

Grinding Different Metals Comparison

Practical Checklist

If you’re applying these techniques in your own shop, build a simple one-page reference sheet for each metal. Include:
☐ Recommended abrasive type and grit sequence
☐ Target pressure and working angles
☐ Dust collection or cooling method (wet or dry)
☐ Expected finish criteria such as RA, grain direction, or coating prep quality

A checklist like this helps operators stay consistent across shifts and reduces rework, even before automation enters the process.

Why Grinding Is Hard to Keep Consistent

Production slows when grinding mistakes need to be fixed. Each time a surface is overground, undercut, or left uneven, someone has to fix it. Every repair adds hours to a job that already runs tight on time. What seems like a small inconsistency at the grinder often grows into a full production delay.

Operator Inconsistency Results In Variable Results

Grinding Inefficiency
Operator inconsistency tends to escalate like dominoes falling over. Rework causes more overtime and a negative feedback loop

When operators apply uneven pressure or change their working angle, the results shift from part to part. Too much force overheats and burns the metal; too little leaves high spots that must be redone. Skipping grits or using a grinding disc past its life slows removal and wastes abrasives. These small choices stack up into visible defects that stop a part from moving downstream.

How It Compounds

Once rework starts, schedules slip and fatigue sets in. Overtime becomes the quick fix, but tired operators make more mistakes. Skilled welders and fabricators are often pulled away from their main tasks to help grind, which lowers overall output and raises cost. The result is a cycle of inefficiency that keeps repeating. 

How To Break the Cycle

Consistent technique and clear standards are the first steps:

  1. Standardize angles and pressure windows: Keep grinding within defined ranges to avoid overcutting or underfinishing.
  2. Define grit progressions: Move through abrasive grits in logical steps that reach the target finish without unnecessary rework.
  3. Set a measurable “done” condition: Use a clear surface finish, scratch depth, or RA value so operators know exactly when to stop.
  4. Make expectations visible: Provide visual or sample references so every operator understands what a finished surface should look like.

With these fundamentals in place, grinding becomes a stable and consistent part of production instead of a bottleneck.

What Manual Grinding Is Costing You

Abrasives and Techniques for Better Results

Cycle times improve when the right abrasive is paired with consistent technique. The tool or disc doesn’t determine efficiency on its own. How you use it makes grinding fast and consistent or slow and uneven. Small differences in angle, pressure, and grit progression can double or halve removal rates. 

Before adjusting your tools or grinding process, focus on four fundamentals that drive consistent results:

  1. Match the abrasive to the job: Bonded wheels remove heavy material quickly but leave a rougher surface. Flap and fiber discs offer more balance, allowing for both control and finish in a single pass. Grit sequences should move gradually toward the desired surface. Skipping too many steps to save time often backfires, since deep scratches from coarse media require extra rework later.
  2. Maintain consistent technique: A 5–10° working angle lets the disc cut efficiently without digging in. Watch the spark flow—it acts as a natural pressure gauge. A steady, three- to four-foot spark stream indicates proper force. On heat-sensitive alloys, using a pull stroke helps the surface cool between passes.
  3. Manage consumables wisely: Abrasives that are dropped, worn unevenly, or used too long can glaze or gouge the surface. Keep storage areas labeled and define clear end-of-life criteria so operators replace media at the right time—not too soon or too late.
  4. Prevent cross-contamination: Abrasives used on carbon steel can embed particles into stainless or aluminum, causing corrosion down the line. In shops that handle multiple metals, color-coded or clearly separated tools and carts prevent this hidden source of defects.

Choosing the Right Tool for the Job

The best tool is one that can consistently meet your finish and safety requirements. Selecting the right approach depends on part geometry, production volume, and how often the task repeats.

Handheld Grinders

Handheld Grinding
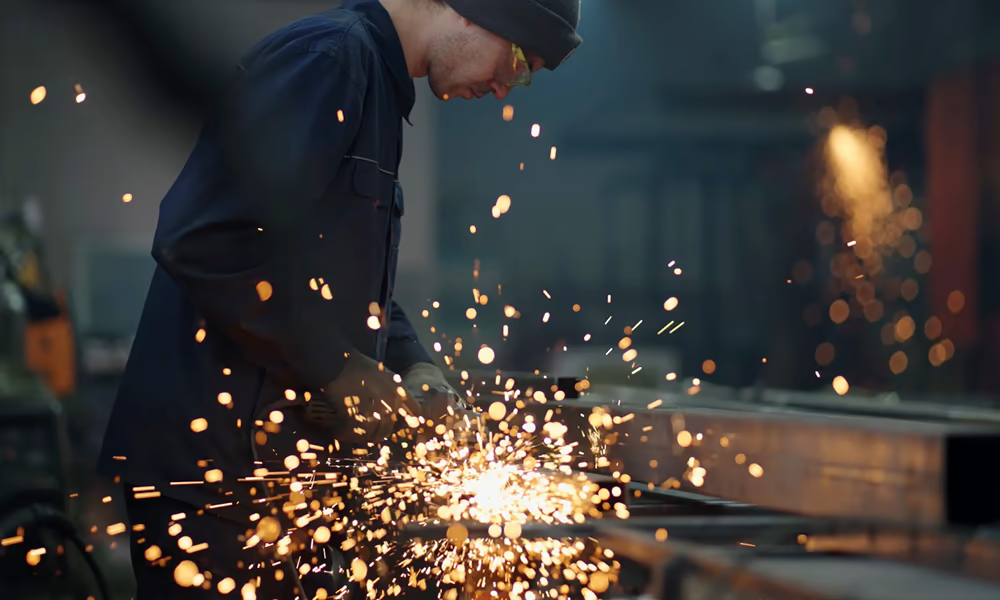
Handheld grinders rely on operator skill and can’t match the precision of automated grinding

These are the most common and accessible tools in any shop. They are inexpensive, flexible, and ideal for one-off jobs, weld cleanup, or quick rework. However, they rely completely on operator skill and endurance. Over time, fatigue leads to variation, inconsistent finishes, and a higher risk of strain or injury.

Benchtop or Dedicated Machines

Stationary grinders deliver repeatable results for defined shapes or parts. They are faster and more stable than handheld tools but require setup and space. Changeovers can slow production, and if guarding is poor, operators face increased safety risks.

Operator-Assisted or Slide-Mounted Systems

These bridge the gap between manual and fully automated setups. A fixed slide or positioner supports the grinder, improving ergonomics and reducing fatigue. While these systems offer better consistency at a modest cost, they still depend on operator input and are less adaptable to complex parts.

Robotic Grinding Cells With Active Force Control

Robotic Grinding Cells Active Force Control
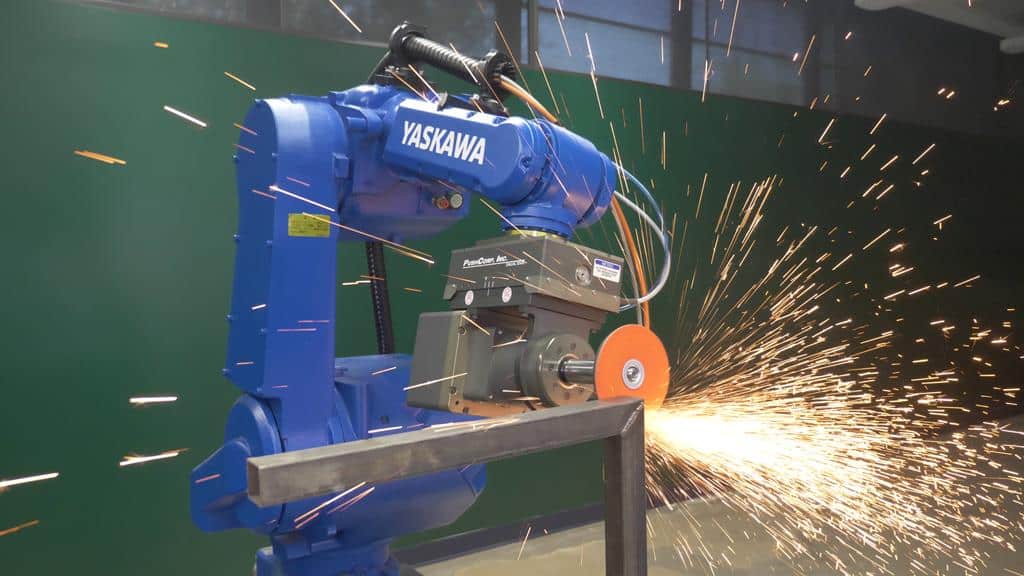
Active-force robotic grinding delivers high precision and consistency

For repeatable, high-throughput work, robotic grinding cells provide the most consistency and efficiency. Force-controlled tools maintain steady pressure and angle, leading to faster removal rates and longer abrasive life. They also offer cleaner operation, improved dust control, and safer working conditions. The tradeoff is the need for initial setup, part fixturing, and clear finish definitions.

How to Know You’re Ready to Automate

Automation makes the biggest difference when manual grinding starts pulling skilled labor away from higher-value work. If surface prep or weld blending consistently drives overtime, it may be time to treat robotic grinding as a productivity tool rather than focusing only on upfront automation costs.

Signs you’re ready:

  • The same part families repeat on a regular schedule.
  • Welds and edges are uniform enough to program once and reuse.
  • Surface finish targets can be defined, measured, and approved.
  • Fixtures and dust collection can be standardized for repeatability.

How to start:
Pick one part family and document your current metrics including cycle time, finish quality, and abrasive use. Run the process through a pilot cell or demo to compare results. Once improvements are verified, expand gradually across similar parts. A measured rollout helps stabilize results and build internal confidence before scaling further.

Where the Real ROI Comes From

Factors Affecting Automation ROI
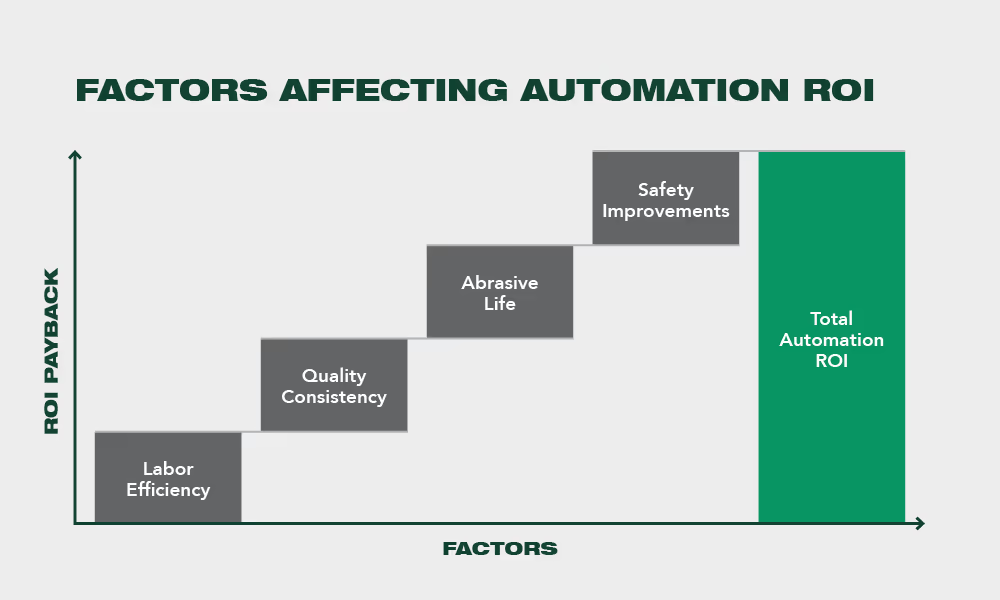
Automation ROI foundations lie in higher labor efficiency and direct and indirect cost reductions of the grinding process

Automation’s payback comes from measurable efficiencies that multiply over time:

  • Labor: Redeploy skilled workers to welding, inspection, or setups instead of surface prep.
  • Quality: Steady pressure and angle reduce rework caused by overgrinding and variation.
  • Abrasive life: Force-controlled systems use each disc through its full lifespan, cutting consumable costs.
  • Safety: Removing operators from high-vibration tools and airborne dust lowers injury risk and downtime.

“A robot with our equipment uses the abrasive more efficiently. People get tired and swap discs early, but we can apply the right pressure and use each one through its full life.” — Maximiliano Falcone, PushCorp

When automation takes over the repetitive work, it standardizes outcomes, stabilizes throughput, and turns grinding into a controlled, profitable process.

How PushCorp Makes Grinding Predictable

Force Compliance Servo Spindle
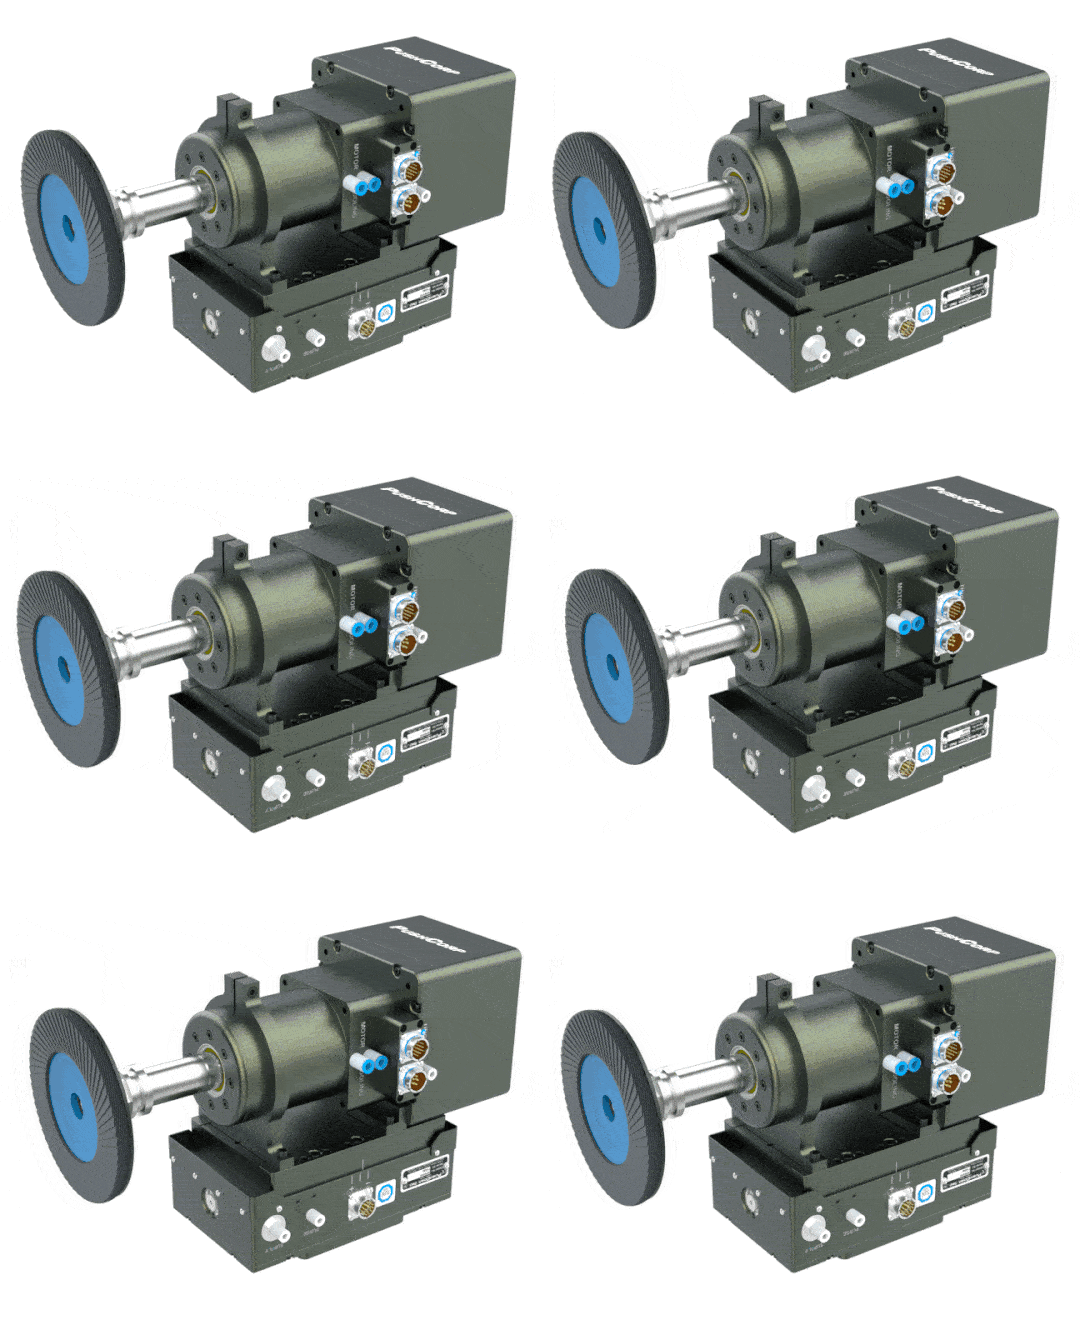
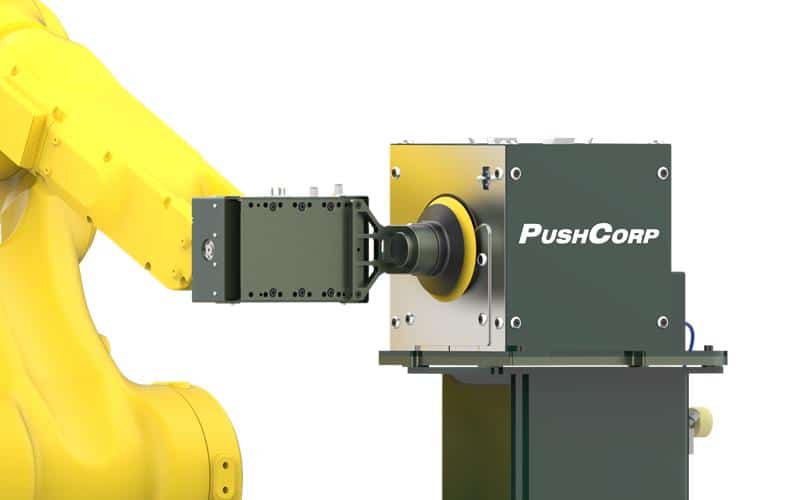
PushCorp’s compliance devices with precise servo spindles provide quick-to-deploy integrated end-of-arm-tooling systems

PushCorp’s compliance devices with precise servo spindles provide quick-to-deploy integrated end-of-arm-tooling systems.

Consistent grinding depends on two things: controlled force and precise speed. PushCorp’s robotic tooling brings both together through its active force compliance devices and servo spindles. These technologies allow robots to adapt to real-world part variation, something manual tools and fixed machines can’t do.

By maintaining constant pressure and torque, PushCorp-equipped robots remove material evenly, use abrasives to their full life, and deliver predictable weld removal, edge prep, and finishing results. The process runs cleaner, quieter, and safer, reducing both dust and operator exposure.

For manufacturers ready to move quickly, PushCorp’s GrindX™ solutions combine these technologies in pre-engineered, cobot-ready solutions. Each setup is tested on real parts in PushCorp’s demo lab and supported through experienced integration partners. The result is a faster path from testing to production with proven consistency and ROI.

Ready to make grinding easier, safer, and more predictable?
Contact PushCorp to speak with an applications expert and find the right solution for your operation.

What Manual Grinding Is Costing You

For over 30 years, our products have helped customers automate applications that were once considered impossible to do with a robot.

Discuss with our Engineers