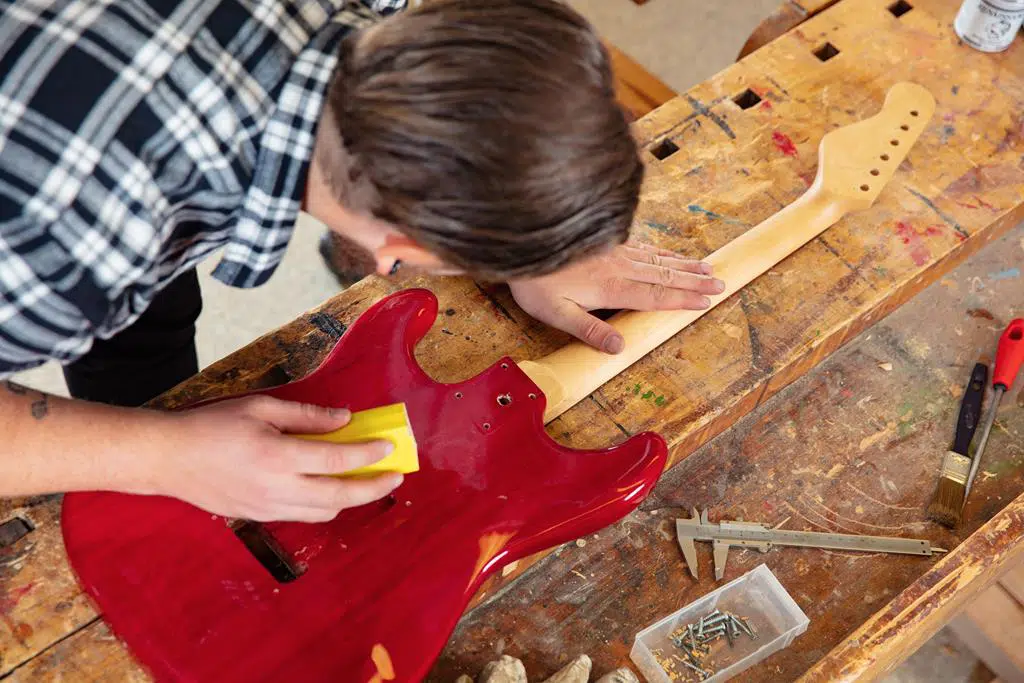
When working with wood products like furniture or in this case electric guitar where the goal is giving it a smooth, silky finish, the process makes an enormous difference. Hand sanding requires considerable time and effort while leaving the result prone to human errors, including fatigue and inconsistency. In contrast, automated sanding reduces downtime and gives a perfect finish consistently across all contours.
In this article, we will look at how to remove the imperfections in an electric guitar board’s texture, making it smooth all-around using robotics sanding. At this point the body has already been roughed into shape; however, rough edges still exist. into shape; however, it is uneven across the sides. For its complex structure and areas that are challenging to reach, we examined the guitar body parts to determine the best abrasives to use.
Gather Your Materials and Get Started Sanding!
To access all the parts easily for sanding, we gripped the guitar body with a Shunk gripper on a Kuka KR120 robot. This approach enabled us Much more flexibility in the movements of the guitar while using different abrasives to work on several areas of the body effectively and conveniently.
To hold the guitar body in place, we engineered a custom bracket held by the Schunk PNG+ 200 universal gripper. As for spinning the sanding media, the PushCorp’s STC1503-BT30 servo spindle with a maximum of 15000 rpm and three hp was perfect for the job, adjusting to the necessary speed and keeping it consistent to make the sanding process seamless.

The amount of force you use to push the abrasive media into the part plays another significant role because too much pressure would over-process the area, whereas too little yields inconsistent results. For optimal control of the force variable, we mounted the STC1503-BT30 on a PushCorp AFD72-3. The “-3” denotes that the equipment is a bench-mounted passive compliance unit. We chose a passive unit because the positioning of the spindle is constant throughout the entire process applying a force of up to 50 pounds across its 20-millimeter stroke.
Achieving an Even Guitar Body Finish With Robotic Sanding
We started with the 3M 341D cloth spiral band as an abrasive media. We paired the cloth spiral band with a 3M expander wheel and BT30 tool holder. The 3M 341D’s size enabled easy access into the small inner diameters of the guitar body.
The 3M Cubitron 775L film disk with 3M precision-shaped ceramic grain was the go-to abrasive media to sand the rest of the guitar’s body. This abrasive media is fashioned to cut through the underlying layer with ease and provides a long-lasting cut that pairs excellently with robot applications. We paired the film disk with 3M 5-inch and 3-inch backup pads, utilizing an interface and contoured areas to facilitate the sanding process.
PushCorp’s BT30 tool holders are designed to work with these abrasive products and we carried out the guitar sanding process as follows:
Step 1
We started with the open flats around the neck of the guitar board, sanding these areas with the expander wheel and 3M 341D spiral band. Regarding spots where you cannot reach due to the diameter of the band, you should decrease the diameter of the expander wheel to enable you to get tight spots such as the apex of the curves.
Step 2
For the back and front cases of the board, we used the 5-inch diameter random orbital sander to render a fine, even finish. Then, we made a tool change to a 3-inch diameter pad with an interface pad to enable the effective spread of the abrasive media over the contoured sections.
Step 3
To keep a flat profile, we utilized the same 3-inch diameter pad without an interface pad, thereby giving a nice touch to the edges of the guitar body. In addition to the flat profile, this method enabled us to sand the edges finely and evenly.
Step 4
The challenges involved in sanding small radii uniformly vary from sanding in flats to oversizing the radius with an overground. We approached such challenges by slowing down the rpm, reducing the compliance force and running the interface pad over the radius at several angles.
We repeated similar light rpm and force factors for contoured areas around the neck. However, accessing the entire contour was the biggest challenge. For such unreachable spots, we recommend you have a skilled operator manually sand them.
Take Advantage of Automated Sanding to Enhance Your Guitar Body’s Silky Finish
Due to the versatility, straightforward method of usage and efficiency, PushCorp’s line of robotic sanding equipment gets the job done regardless of the project. With automated processes to handle your finishing projects, you maximize your results and reduce errors from hand sanding. You can watch more videos about how you can apply robotic sanding to optimize your projects, or contact us at 972-840-0208 today to learn more about our products.